Picture this: It’s Friday night, you’re craving pizza, but when you reach for that frozen pizza box, you suddenly remember – your oven is broken. Or maybe you’re in a dorm room with no oven at all. Don’t worry! Your trusty frying pan is about to become your new best friend.
Cooking frozen pizza in a pan might sound weird at first, but it’s actually a game-changer. Not only does it work without an oven, but many people say it makes the crust even crispier and more delicious than the regular way. Plus, it’s faster and uses less energy. Pretty cool, right?
In this guide, we’ll walk you through everything you need to know about cooking frozen pizza in a pan. Whether you’re a college student, someone with a broken oven, or just curious about trying something new, this method will save your pizza night!
Why Cook Frozen Pizza in a Pan?
Before we jump into the how-to part, let’s talk about why this method is so awesome.
It’s Super Crispy When you cook pizza in a pan, the bottom touches the hot surface directly. This creates an incredibly crispy, golden-brown crust that’s sometimes even better than oven-baked pizza. If you love crunchy crust, you’re going to love this method.
No Oven Needed Living in a small apartment? Dorm room? RV? Broken oven? No problem! All you need is a stovetop and a pan with a lid. This makes pizza accessible to everyone, everywhere.
It’s Faster Ovens take forever to preheat—usually 10 to 15 minutes. With a pan, you can start cooking immediately. Your pizza will be ready in about 10 to 15 minutes total, which means you’re eating sooner!
Saves Energy Using a stovetop burner uses much less energy than heating up your entire oven. This is great for your electricity bill and better for the environment too.
Easy to Watch With a pan, you can peek at your pizza anytime to check if it’s done. No bending down to look through an oven window or opening a hot oven door.
Now that you know why pan pizza is amazing, let’s get cooking!
What You’ll Need
Don’t worry—you probably have everything already. Here’s your simple shopping list:
The Must-Haves:
- One frozen pizza (any size that fits your pan)
- A large frying pan or skillet with a lid (non-stick works best)
- A stovetop (gas or electric both work great)
- 2-3 tablespoons of water
- A spatula
Nice to Have (But Not Required):
- Olive oil or cooking spray
- Aluminum foil (if your pan doesn’t have a lid)
- A pizza cutter or sharp knife
- Extra cheese or toppings (to make it even yummier)
The most important thing is that your pan needs to be big enough for your pizza. If your pizza is too big, you can always break it in half and cook it in two batches. Easy peasy!

Step-by-Step Instructions: Let’s Make Some Pan Pizza!
Ready to become a pan-pizza master? Follow these simple steps, and you’ll have a delicious pizza in no time.
Step 1: Take Your Pizza Out of the Freezer
First things first—grab your frozen pizza from the freezer. Take off all the plastic wrapping and throw away the cardboard. Some people ask if they should let the pizza thaw first. The answer is no! Keep it frozen. Cooking it frozen helps it cook evenly and prevents it from getting soggy.
Pro Tip: While you’re unwrapping, this is a great time to add extra toppings if you want. Sprinkle on more cheese, add some pepperoni, throw on some vegetables—whatever makes you happy!
Step 2: Heat Up Your Pan
Place your pan on the stove and turn the heat to medium-low. This is super important—don’t use high heat! High heat will burn the bottom of your pizza before the top gets cooked. Think of it like this: low and slow wins the race.
Let the pan warm up for about 1 to 2 minutes. You can test if it’s ready by holding your hand a few inches above the pan (not touching it!). If you feel warmth, you’re good to go.
Should You Add Oil? This is up to you! If you’re using a non-stick pan, you don’t really need oil. But if you want an extra crispy crust, you can add a tiny drizzle of olive oil or a quick spray of cooking spray. Just don’t go crazy—a little bit is enough.
Step 3: Place the Pizza in the Pan
Carefully place your frozen pizza into the warm pan. Make sure it lays flat. If your pizza is a bit too big, you can trim the edges with a knife, or just cook it in two pieces.
Don’t press down on the pizza! Just let it sit naturally in the pan. The bottom will start to cook right away, getting nice and crispy.
Step 4: Add Water and Cover (The Magic Step!)
Here’s the secret that makes everything work: water and a lid.
Take 2 to 3 tablespoons of water and carefully pour it around the edges of the pizza—not on top of it! The water should go in the space between the pizza crust and the side of the pan.
Why water? The water creates steam when it heats up, and that steam cooks the top of the pizza and melts the cheese. It’s like creating a mini-oven inside your pan. Pretty clever, right?
After adding the water, immediately cover the pan with a lid. Make sure the lid fits well so the steam can’t escape. If you don’t have a lid, aluminum foil works great—just cover the pan tightly.
Important: Don’t add too much water! Just 2-3 tablespoons is perfect. Too much water will make your pizza soggy, and nobody wants that.
Step 5: Cook and Wait Patiently
Now comes the hardest part—waiting! Let the pizza cook for about 8 to 12 minutes without lifting the lid. I know it’s tempting to peek, but every time you lift the lid, you let out the steam, and that makes it take longer.
What’s happening under that lid? The bottom is getting crispy and golden, while the steam is melting the cheese and cooking the toppings on top. It’s all working together perfectly.
How to Know When It’s Done: After about 8 minutes, you can carefully lift the lid and take a peek. Look for these signs:
- The cheese is completely melted and bubbly
- The crust looks golden brown around the edges
- The toppings are hot and cooked
If it’s not quite ready, put the lid back on and give it another 2 to 3 minutes.
Step 6: Check the Bottom
This step is important! Use your spatula to gently lift up one edge of the pizza and peek at the bottom. You want to see a nice golden-brown color, kind of like toast.
If the bottom looks perfect but the cheese isn’t quite melted enough, you can turn the heat down to low and give it another minute or two with the lid on.
If the bottom is getting too dark but the top isn’t done, lower the heat immediately. You might need to add a tiny splash more water and cover it again to help the top finish cooking.
Step 7: Take It Out and Let It Rest
When everything looks perfect, turn off the stove. Use your spatula to carefully slide the pizza out of the pan and onto a cutting board or plate.
Here’s a tip that chefs use: let the pizza rest for about 2 to 3 minutes before cutting it. This might sound silly (who wants to wait when pizza smells so good?), but it makes a difference. The cheese will set a little bit, which means it won’t all slide off when you cut it, and the crust will stay crispy.
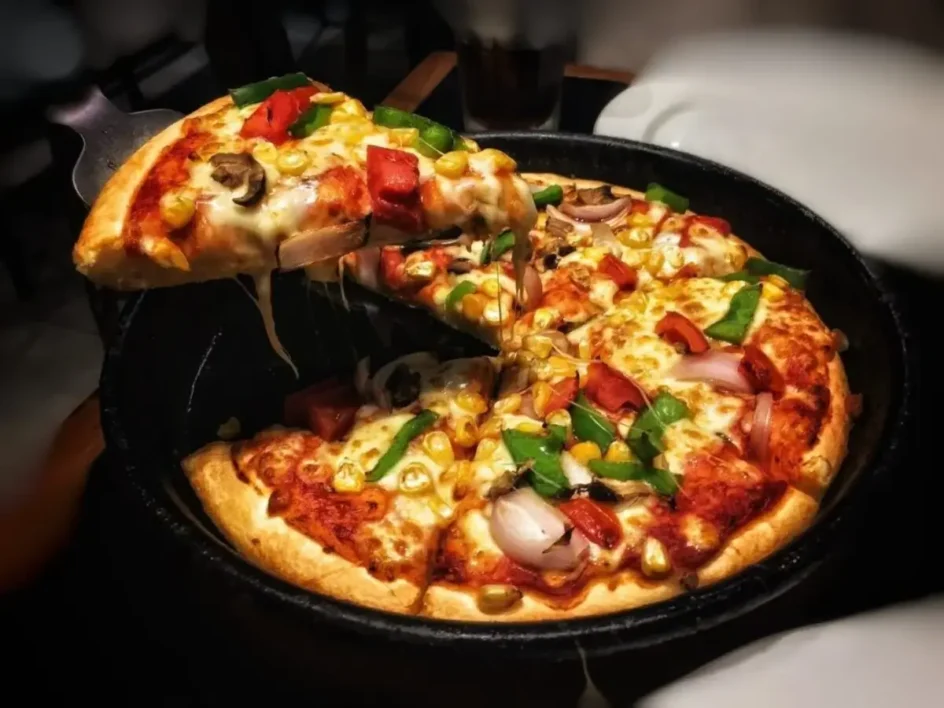
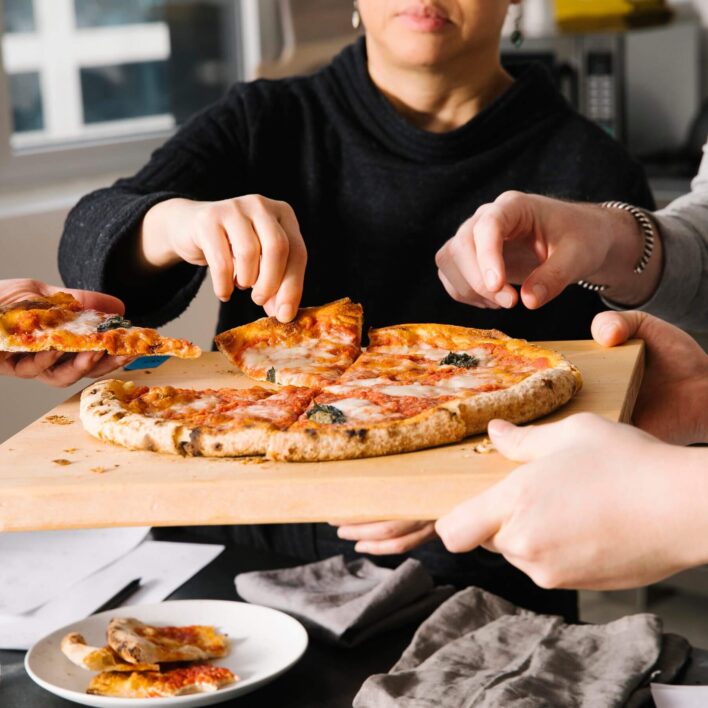
Step 8: Slice and Enjoy!
Now for the best part—eating! Use a pizza cutter or a sharp knife to slice your pizza into pieces. Be careful because it’s hot!
Grab your favorite drink, maybe some napkins (things might get messy), and enjoy your perfectly cooked pan pizza. You did it!
Helpful Tips and Tricks
Want to become a pan-pizza pro? Here are some extra tips to make your pizza even better:
Choose the Right Pan Size Your pan should be big enough to fit your pizza comfortably. A 10 to 12-inch pan works great for most personal-sized frozen pizzas. If you have a huge pizza and a small pan, just break the pizza in half and cook it in two batches.
Don’t Skip the Lid The lid is super important! Without it, the top won’t cook properly and you’ll end up with melted cheese on the bottom and frozen cheese on top. Yuck! If you really don’t have a lid or foil, you can try using a large metal bowl or baking sheet to cover the pan.
Keep the Heat Medium-Low This is probably the most common mistake people make. If the heat is too high, your bottom will burn while the top stays frozen. If you smell burning, lower the heat immediately! It’s better to cook a little slower than to burn your dinner.
Try Different Pizzas This method works with any frozen pizza—thin crust, thick crust, deep dish, flatbread, you name it! Each type might need slightly different cooking times:
- Thin crust pizzas cook faster (about 8-10 minutes)
- Thick crust pizzas need more time (about 12-15 minutes)
- Deep dish might need even more time and extra water
Make It Your Own The great thing about cooking pizza yourself is you can customize it! Before cooking, try adding:
- Extra mozzarella cheese for super cheesy goodness
- Fresh basil leaves (add these after cooking)
- Red pepper flakes for some spice
- Garlic powder for extra flavor
- Fresh vegetables like bell peppers or mushrooms
- Extra meat like bacon or sausage
Use Parchment Paper If you’re worried about your pizza sticking, you can put a piece of parchment paper in the pan first, then put the pizza on top. This works especially well with non-non-stick pans. The parchment paper can handle the heat and makes cleanup super easy.
Don’t Walk Away Stay in the kitchen while your pizza cooks! Things can go from perfect to burnt pretty quickly, especially if it’s your first time. Keep an eye (and nose) on it.


Common Problems and How to Fix Them
Even experienced cooks run into problems sometimes. Here’s how to fix the most common pan-pizza issues:
Problem: The Bottom is Burning But the Top is Still Frozen Solution: Your heat is too high! Turn it down to low immediately. Take the pizza out, let the pan cool for a minute, then put the pizza back in with a little more water and the lid on.
Problem: Everything is Soggy Solution: You probably used too much water or the heat is too low. Next time, use less water (just 2 tablespoons) and make sure your heat is at medium-low, not just low.
Problem: The Cheese Isn’t Melting Solution: Not enough steam! Make sure you added water and that your lid fits tightly. If you already cooked it and the cheese is still not melted, add a splash of water, cover it, and give it another 2 minutes.
Problem: The Pizza is Sticking to the Pan Solution: Next time, use a non-stick pan or add a tiny bit of oil before cooking. If it’s already stuck, let the pizza cool for a few minutes—it will release easier. You can also slide a thin spatula under it carefully to help it release.
Problem: The Crust is Tough or Chewy Solution: This happens when there’s too much moisture or not enough heat. Make sure your pan is heated before adding the pizza, and don’t use too much water. Also, letting the pizza rest a few minutes after cooking helps the crust crisp up.
Frequently Asked Questions
Can I cook any size frozen pizza in a pan? You can cook any pizza that fits in your pan! If it’s too big, break it in half or cut it into pieces that fit. You might need to cook it in batches, but it still works great.
Do I need a non-stick pan? Non-stick pans work best, but you can use any pan. Just add a little bit of oil if your pan isn’t non-stick to prevent sticking.
Can I use a cast iron skillet? Yes! Cast iron skillets are actually perfect for this. They heat evenly and hold heat really well. Just make sure you have a lid that fits, and the cooking time might be a little shorter because cast iron gets very hot.
What if I don’t have a lid? Use aluminum foil to cover the pan tightly. Make sure it’s sealed around the edges so steam can’t escape. You can also use a large metal bowl or even a baking sheet that’s bigger than your pan.
Should I thaw the pizza first? Nope! Cook it frozen. Thawing it first can make it soggy and hard to handle.
Can I cook homemade pizza this way? Absolutely! This method works with homemade pizza too. Just adjust the cooking time based on how thick your crust is.
Is pan pizza healthier than oven pizza? The pizza itself has the same nutrition either way. But you might use less oil with the pan method, and it uses less energy, which is better for the environment!
Final Thoughts: You’re a Pan Pizza Expert Now!
Congratulations! You now know everything you need to make delicious frozen pizza in a pan. This simple cooking method is perfect for anyone without an oven, anyone who wants crispier pizza, or anyone who just wants to try something new and fun.
Remember the key steps:
- Use medium-low heat (never high!)
- Add 2-3 tablespoons of water around the edges
- Cover with a lid to trap the steam
- Cook for 8-12 minutes until crispy and bubbly
- Let it rest before slicing
The best part? Once you try this method, you might never want to use your oven again! Pan pizza is faster, crispier, and just as delicious (some people say even better!).
So next time Friday night rolls around and you’re craving pizza, don’t let a broken oven or lack of equipment stop you. Grab your pan, follow these simple steps, and enjoy a perfectly cooked pizza in just 15 minutes. Your taste buds will thank you!
Now get out there and make some amazing pan pizza. You’ve got this!
Happy cooking, and enjoy every crispy, cheesy bite!