Table of Contents
ToggleDisconnect Drive Shaft for Towing: Easy DIY Guide
When it comes to towing a vehicle, especially rear-wheel or four-wheel drive, disconnecting the drive shaft can be crucial to prevent transmission damage.
This comprehensive guide will walk you through the steps of safely disconnecting the drive shaft, ensuring that your vehicle can be towed without causing any damage to its drivetrain.
Drive Shaft
Before diving into the process, it’s essential to understand what a drive shaft is and why it needs to be disconnected for towing.
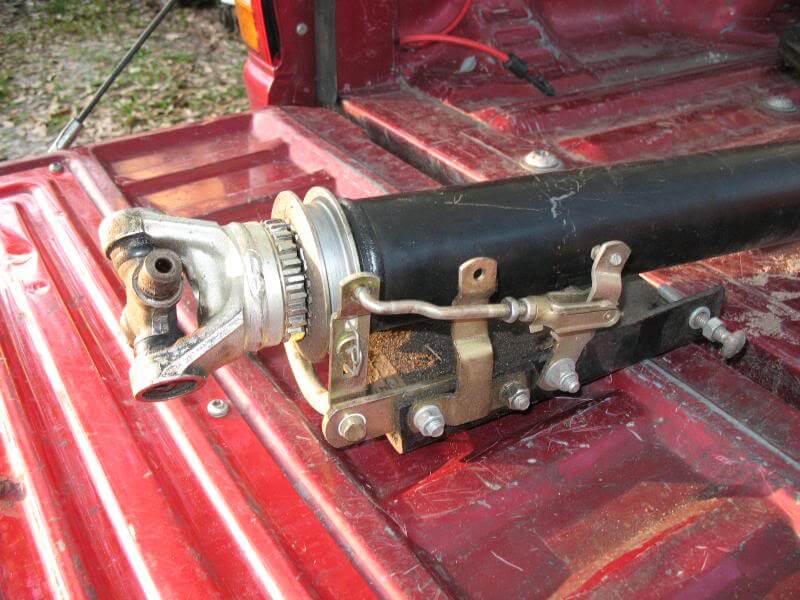
The drive shaft is a cylindrical component that transmits torque from the transmission to the differential, which then powers the wheels. In rear-wheel and four-wheel-drive vehicles, the drive shaft is crucial for movement.
However, when towing such vehicles, the wheels continue to turn the drive shaft, which can cause wear and tear on the transmission if not properly disconnected.
Tools and Materials Needed
To disconnect the drive shaft, you’ll need the following tools and materials:
- Jack and jack stands
- Wheel chocks
- Socket set and wrenches
- Penetrating oil (like WD-40)
- Marking pen or chalk
- Plastic bag and zip ties
- Safety gloves and goggles
Step-by-Step Guide to Disconnecting the Drive Shaft

1. Prepare Your Vehicle
Safety is paramount when working under a vehicle. Begin by parking your vehicle on a flat, stable surface. Engage the parking brake and place wheel chocks around the front wheels to prevent any movement.
2. Lift the Vehicle
Use a jack to lift the rear of the vehicle. Once raised, secure the vehicle with jack stands to ensure stability. Never rely solely on the jack, as it can fail and cause the vehicle to fall.
3. Locate the Drive Shaft
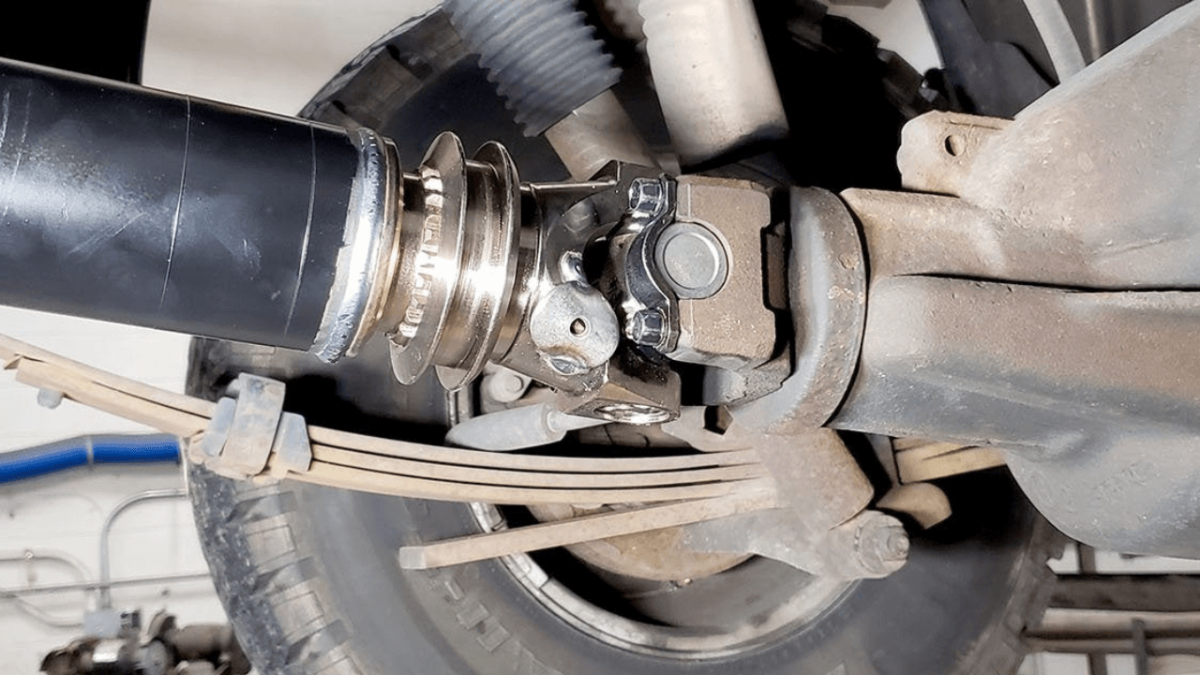
The drive shaft runs from the transmission to the rear differential. Depending on your vehicle, it may be a single-piece or a two-piece shaft. Locate the points where the drive shaft connects to the differential and the transmission.
4. Mark the Drive Shaft
Before disconnecting, use a marking pen or chalk to mark the alignment of the drive shaft and the differential flange. This step ensures that you can reassemble the drive shaft in the same position, maintaining proper balance.
5. Apply Penetrating Oil
Spray penetrating oil on the bolts connecting the drive shaft to the differential flange. This will help loosen any rust or debris, making it easier to remove the bolts.
6. Remove the Bolts
Using the appropriate socket and wrench, remove the bolts connecting the drive shaft to the differential flange. Keep these bolts in a safe place, as you’ll need them for reassembly. Once the bolts are removed, gently push the drive shaft towards the transmission to free it from the differential flange.
7. Secure the Drive Shaft
With the drive shaft disconnected from the differential, carefully lower the free end to the ground. To prevent damage to the transmission, wrap the disconnected end in a plastic bag and secure it with zip ties. This step ensures that dirt and debris do not enter the transmission during towing.
8. Check for Proper Disconnection
Ensure that the drive shaft is entirely free from the differential flange and secured away from the ground. Double-check your work to avoid any issues during towing.
Important Considerations
- Consult Your Vehicle’s Manual: Before attempting to disconnect the drive shaft, consult your vehicle’s owner manual. Some vehicles have specific procedures or require special tools.
- Front-Wheel Drive Vehicles: If you’re towing a front-wheel-drive vehicle, there’s no need to disconnect the drive shaft, as the front wheels are disengaged from the drive train.
- All-Wheel Drive Vehicles: Towing an all-wheel-drive vehicle often requires all four wheels to be off the ground. If this isn’t possible, disconnecting the drive shaft is essential to prevent drivetrain damage.
Reconnecting the Drive Shaft
After towing, you’ll need to reconnect the drive shaft. Follow these steps:
- Position the Vehicle: Park the vehicle on a flat surface, engage the parking brake, and use wheel chocks.
- Align the Marks: Align the marks you made earlier on the drive shaft and the differential flange.
- Install the Bolts: Reinstall the bolts and tighten them securely using the appropriate socket and wrench.
- Lower the Vehicle: Remove the jack stands and carefully lower the vehicle to the ground.
Why Disconnecting the Drive Shaft is Important

When towing a vehicle with the drive shaft connected, the wheels turn the drive shaft, which in turn spins the transmission components. In vehicles with automatic transmissions, this can lead to insufficient lubrication, causing severe damage. Manual transmissions can also suffer from wear and tear due to the lack of proper lubrication and the constant movement of components.
By disconnecting the drive shaft, you ensure that the transmission remains stationary, preventing any internal damage. This simple yet crucial step can save you from costly repairs and extend the life of your vehicle’s drivetrain.
Alternative Towing Methods
If disconnecting the drive shaft seems daunting, consider these alternative towing methods:
- Flatbed Towing: Using a flatbed tow truck is the safest method, as all wheels are off the ground, eliminating the need to disconnect the drive shaft.
- Dolly Towing: A tow dolly lifts the front wheels off the ground. For rear-wheel and four-wheel-drive vehicles, disconnecting the drive shaft is still recommended.
- Trailer Towing: Using a car trailer keeps all four wheels off the ground, similar to flatbed towing, and is ideal for long-distance towing.
Conclusion
Disconnecting the drive shaft for towing is a straightforward process that can prevent significant damage to your vehicle’s transmission. By following this step-by-step guide, you can ensure safe and damage-free towing. Always remember to consult your vehicle’s manual for specific instructions and use the proper tools to secure your safety and the integrity of your vehicle. If you’re ever in doubt, seeking professional assistance is the best course of action.


